HeightNodes Way - Easy
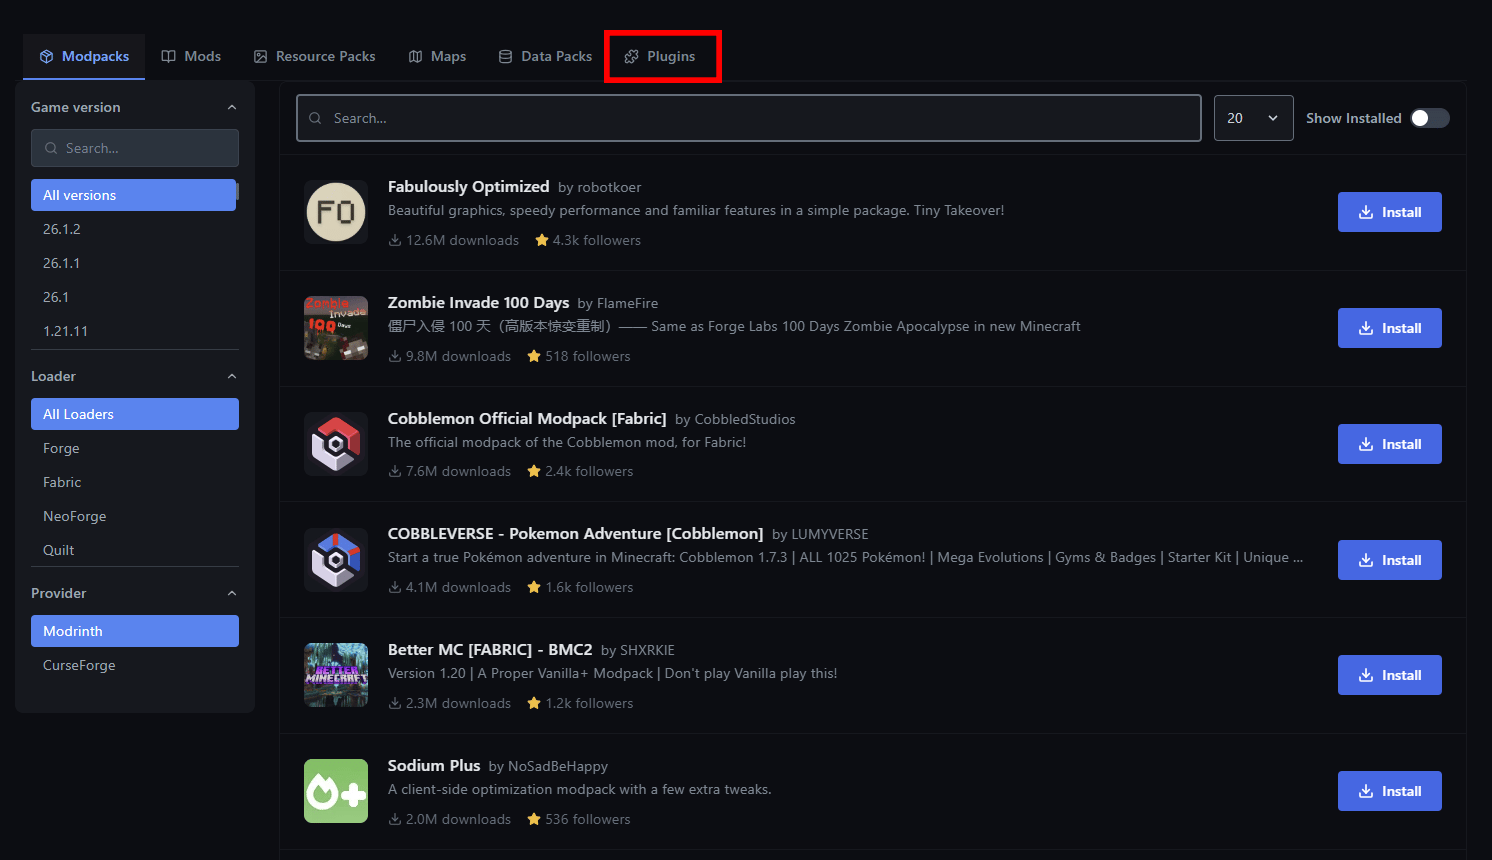
First lets start with the easy way. Login to our Game Panel and click on your server, stop your server, and then navigate to the sidebar. You’ll see a lot of options. Don’t get overwhelmed because its not as complicated as it seems. Just navigate the Launchpad tab which is under the “Settings” dropdown.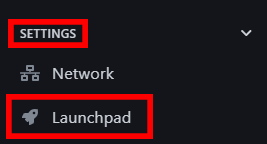
Manual Way - Harder
First select and download your plugin. Only download plugins from trusted sources like Modrinth, SpigotMC, etc. Login to your game panel and stop your server. Go to the File Manager and open the folder “plugins”. If you don’t see this folder, ensure you have PaperMC setup correctly. Upload the.jar file into the plugins folder. If it’s a .zip file then extract it and find the .jar file. If the file is too big, use WinSCP or FileZilla to access your files.
Start your server and join in! The plugin is installed!